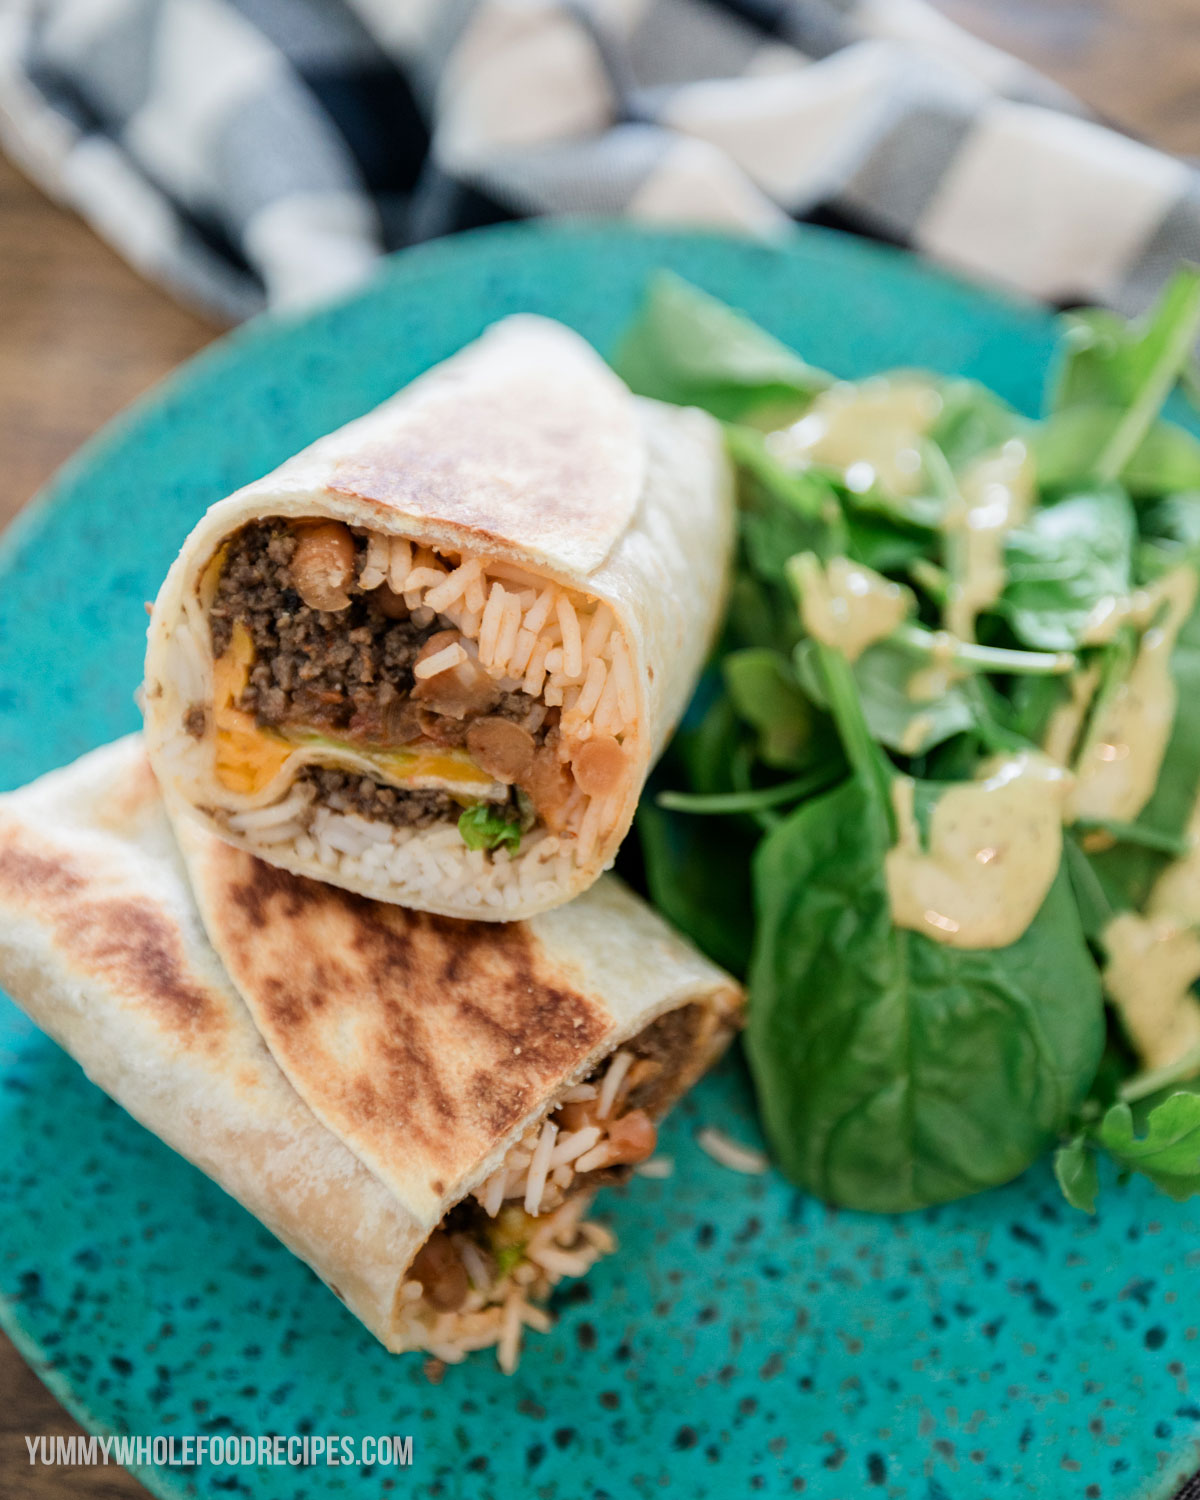
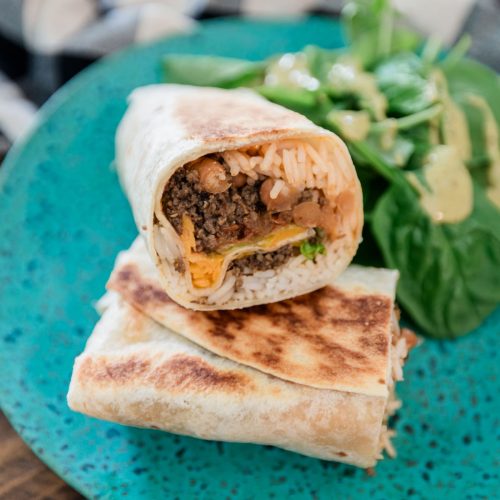
Flavourful Freezer Burrito Recipe with Beef & Mushrooms
Are you ready to spice up your Taco Tuesday? Say hello to my Flavorful Burritos with a delicious twist of beef and mushrooms! This is one of my favourite freezer burrito recipes, and not only is it bursting with Tex-Mex goodness but also comes with a handy freezer-friendly feature, perfect for those busy days when you need a quick meal on hand. Let me show you the recipe!
I was first introduced to the concept of adding chopped mushrooms to my burrito or taco beef when I worked on a project with Mushrooms Canada on my main blog a couple of years ago. Since then, I’m a huge convert! I love the idea of adding extra nutrition to my burritos and tacos. Plus, I can make more filling with less meat which helps lower my grocery bill.
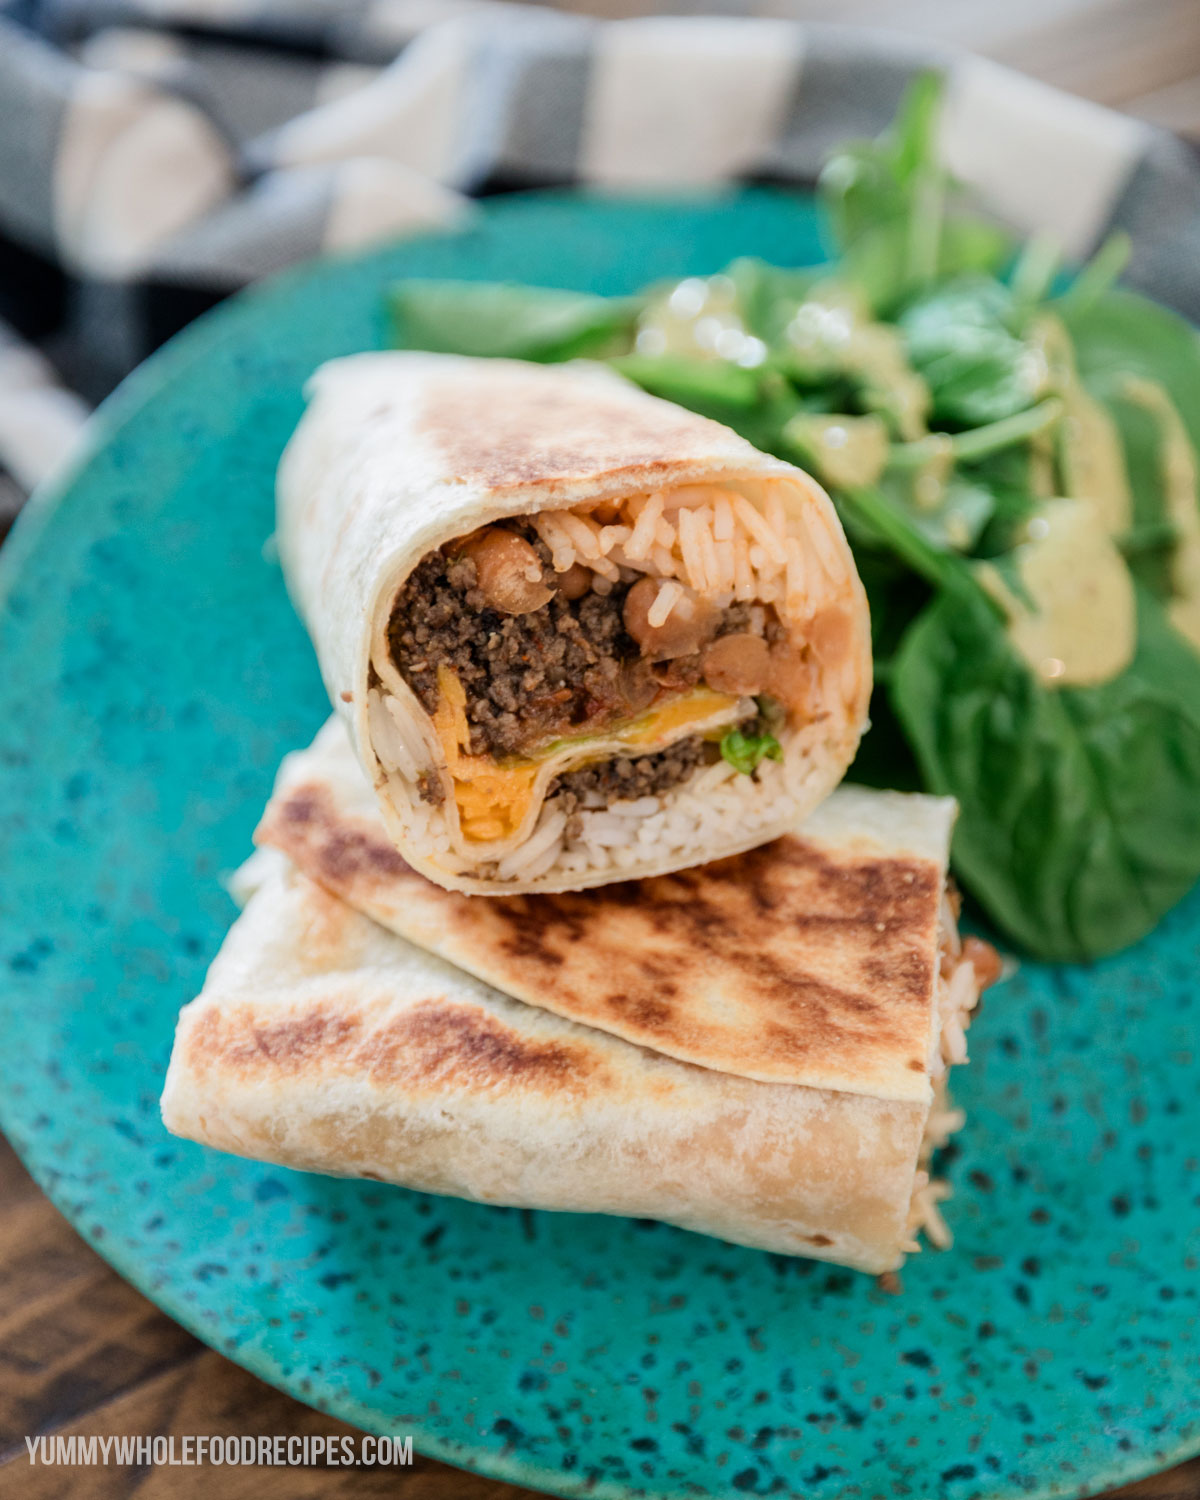
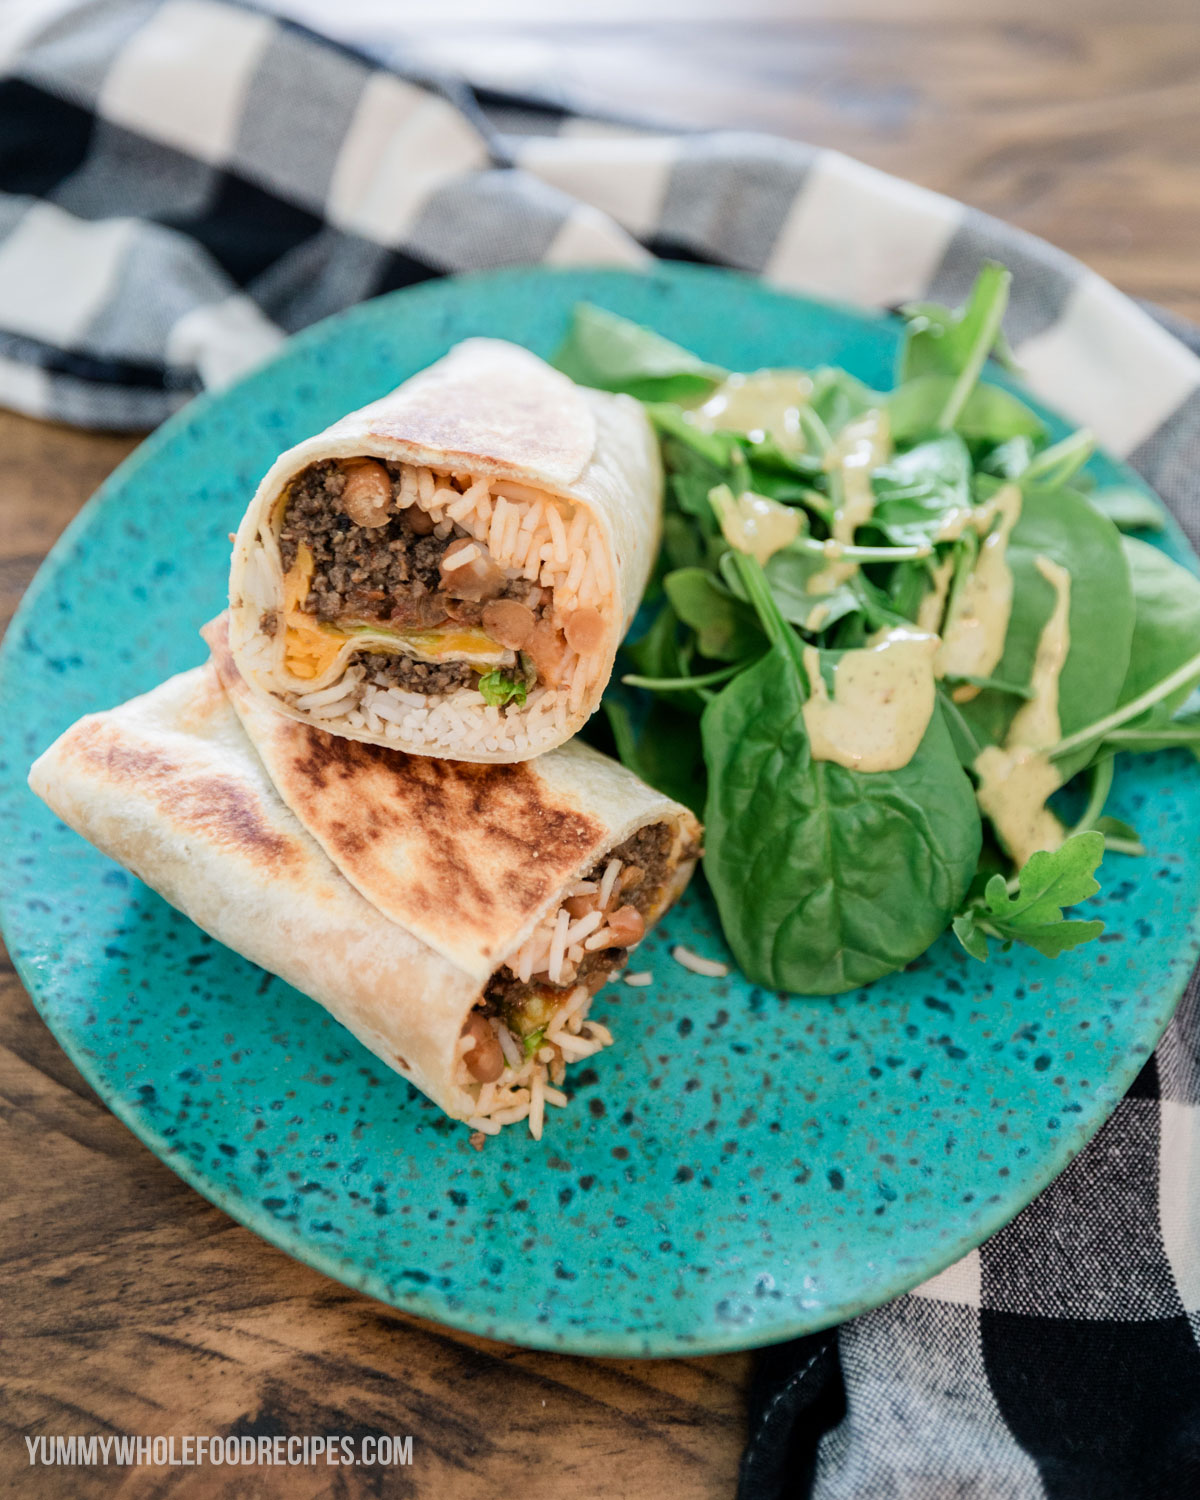
These delicious burritos are perfect on their own as a healthy lunch or an easy dinner, or they’re great paired with a side salad. They’d be super yummy served with my Greek Salad or a simple green salad. The best part about these burritos? You can make a double or triple batch at the beginning of the month and freeze them to thaw & reheat for later. Freezer meals are a good idea when you know you’re going to have a busy month but still want to eat nutritious foods! Your future self with thank you.
Ingredients
- white mushrooms
- lean ground beef
- olive oil
- taco seasoning mix
- can of brown beans
- flour tortillas
- cooked brown rice
- shredded lettuce
- salsa
- guacamole (optional)
- hot sauce (optional)
- sour cream (optional)
- lime (optional)
- cheddar cheese
See recipe card for quantities
Instructions
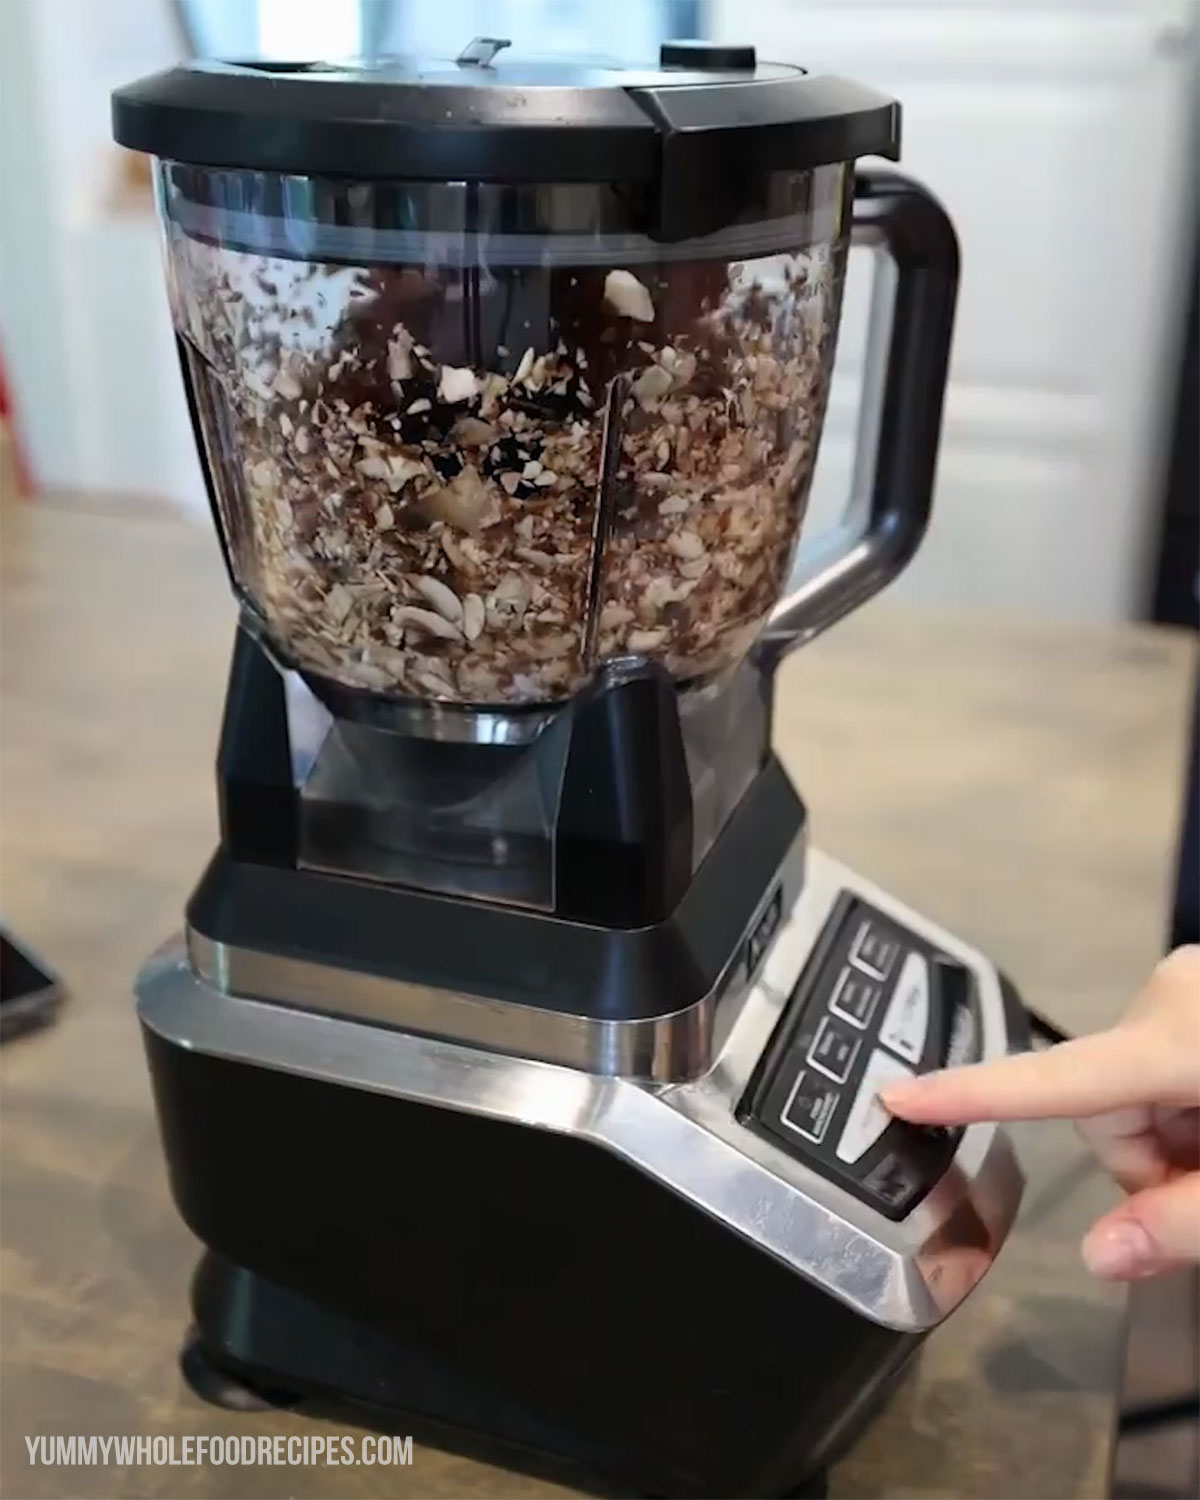
Place the mushrooms in a food processor fitted with a metal blade. Pulse until finely chopped. Add the ground beef to the processor and pulse until the mixture is well combined.
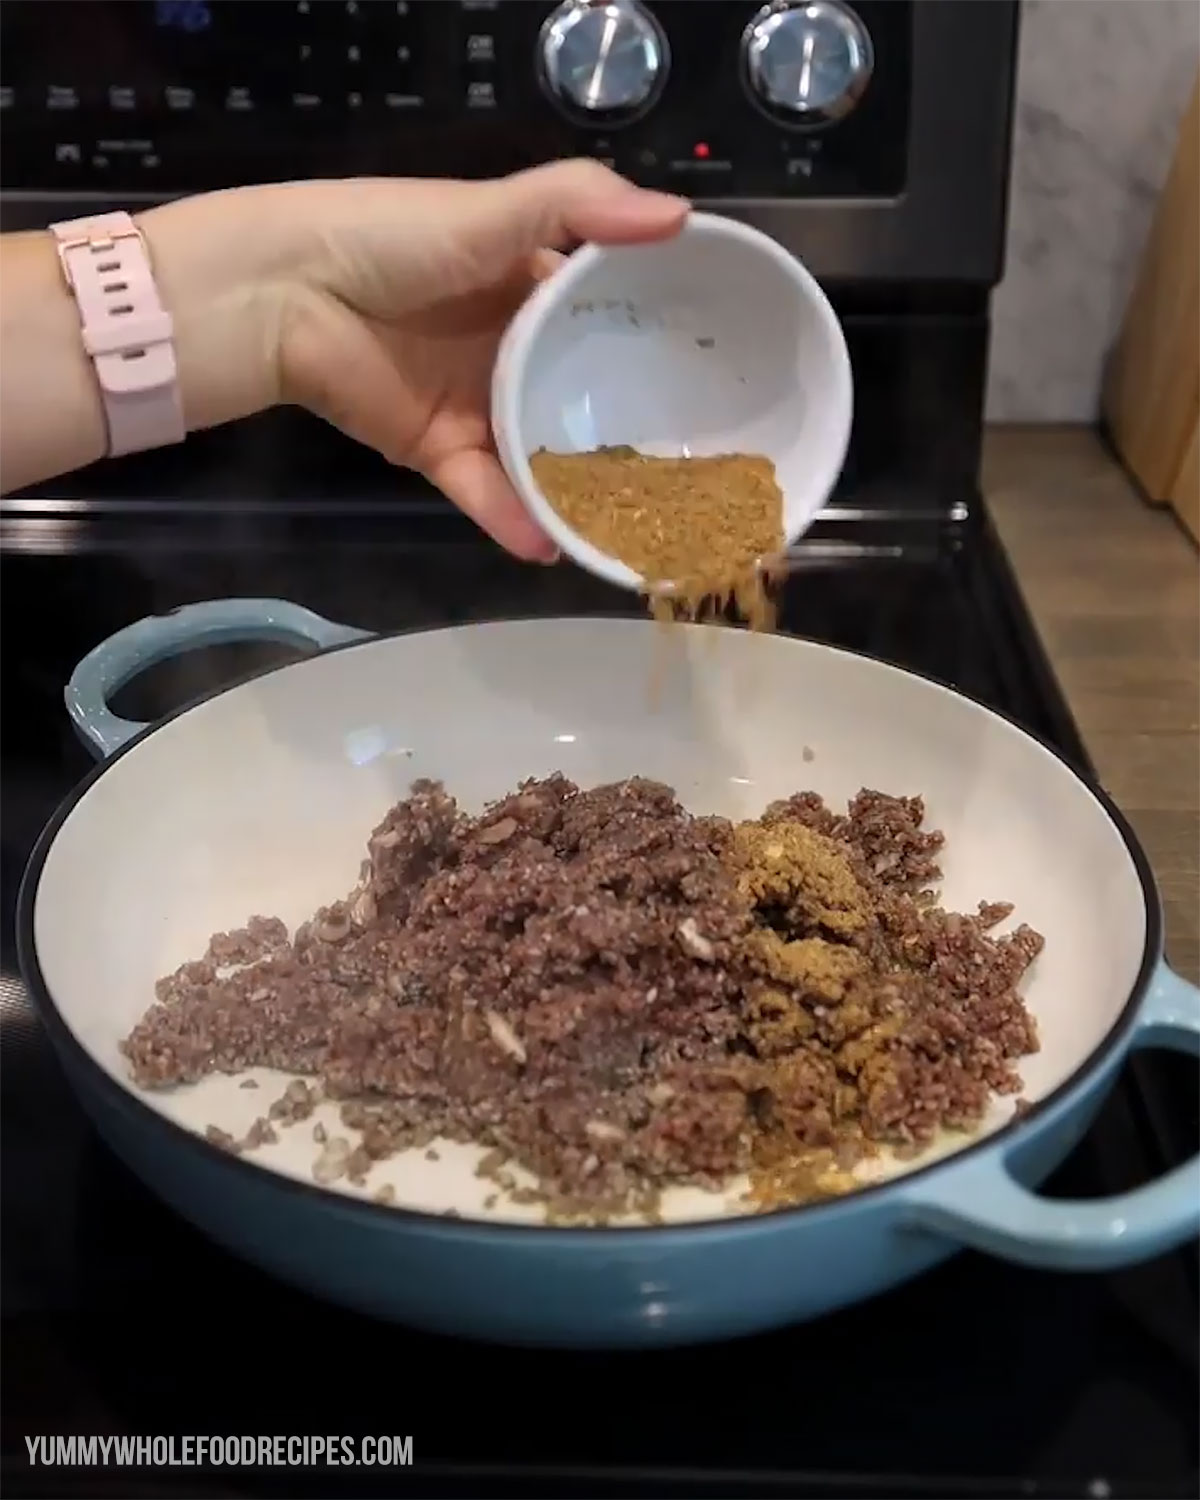
Heat the olive oil in a large nonstick skillet over medium heat. Add the mushroom and beef mixture to the skillet, along with the taco seasoning mix. Cook for about 10 minutes, stirring occasionally, until the mushroom and beef mixture is browned and fragrant.
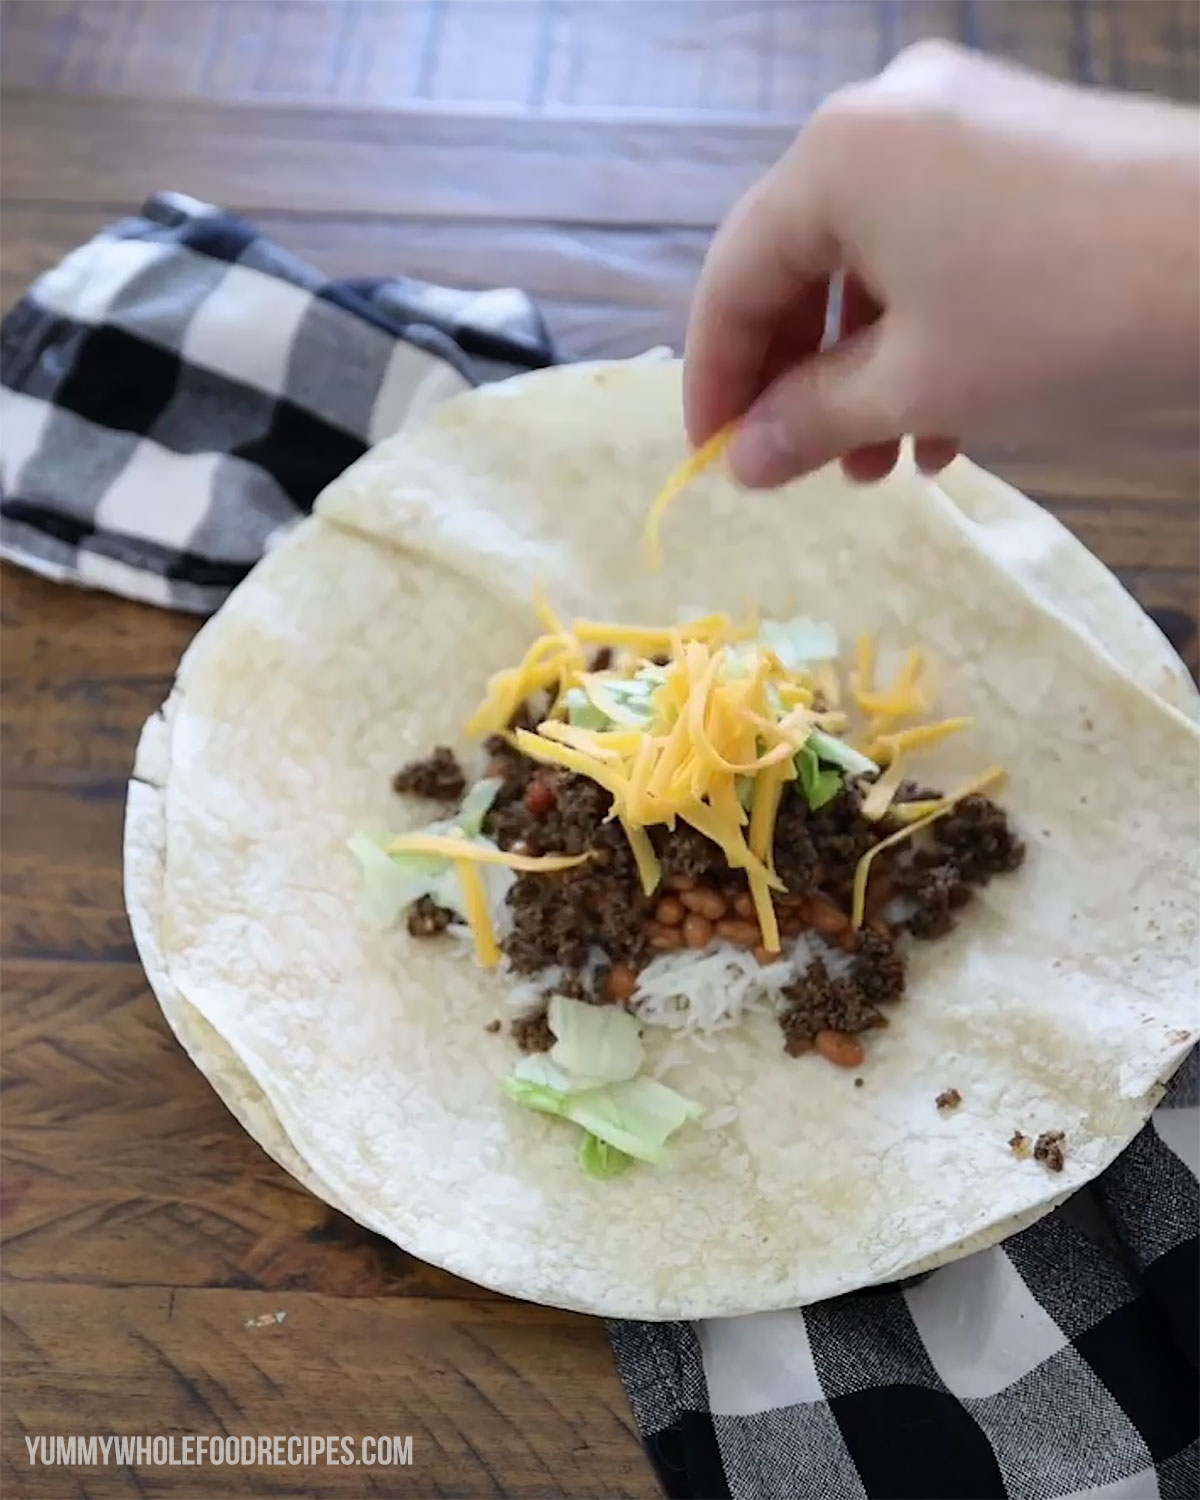
To assemble the burritos, spread a layer of brown beans onto the center of the tortilla. Next, spoon a generous portion of cooked brown rice onto the beans, followed by a hearty scoop of the mushroom and beef mixture. Top it off with shredded lettuce, salsa, and any optional toppings you desire, such as guacamole and sour cream. (Don’t add the lettuce, guac or sour cream if you want to freeze these!) Finally, sprinkle a generous amount of shredded cheddar cheese over the filling.
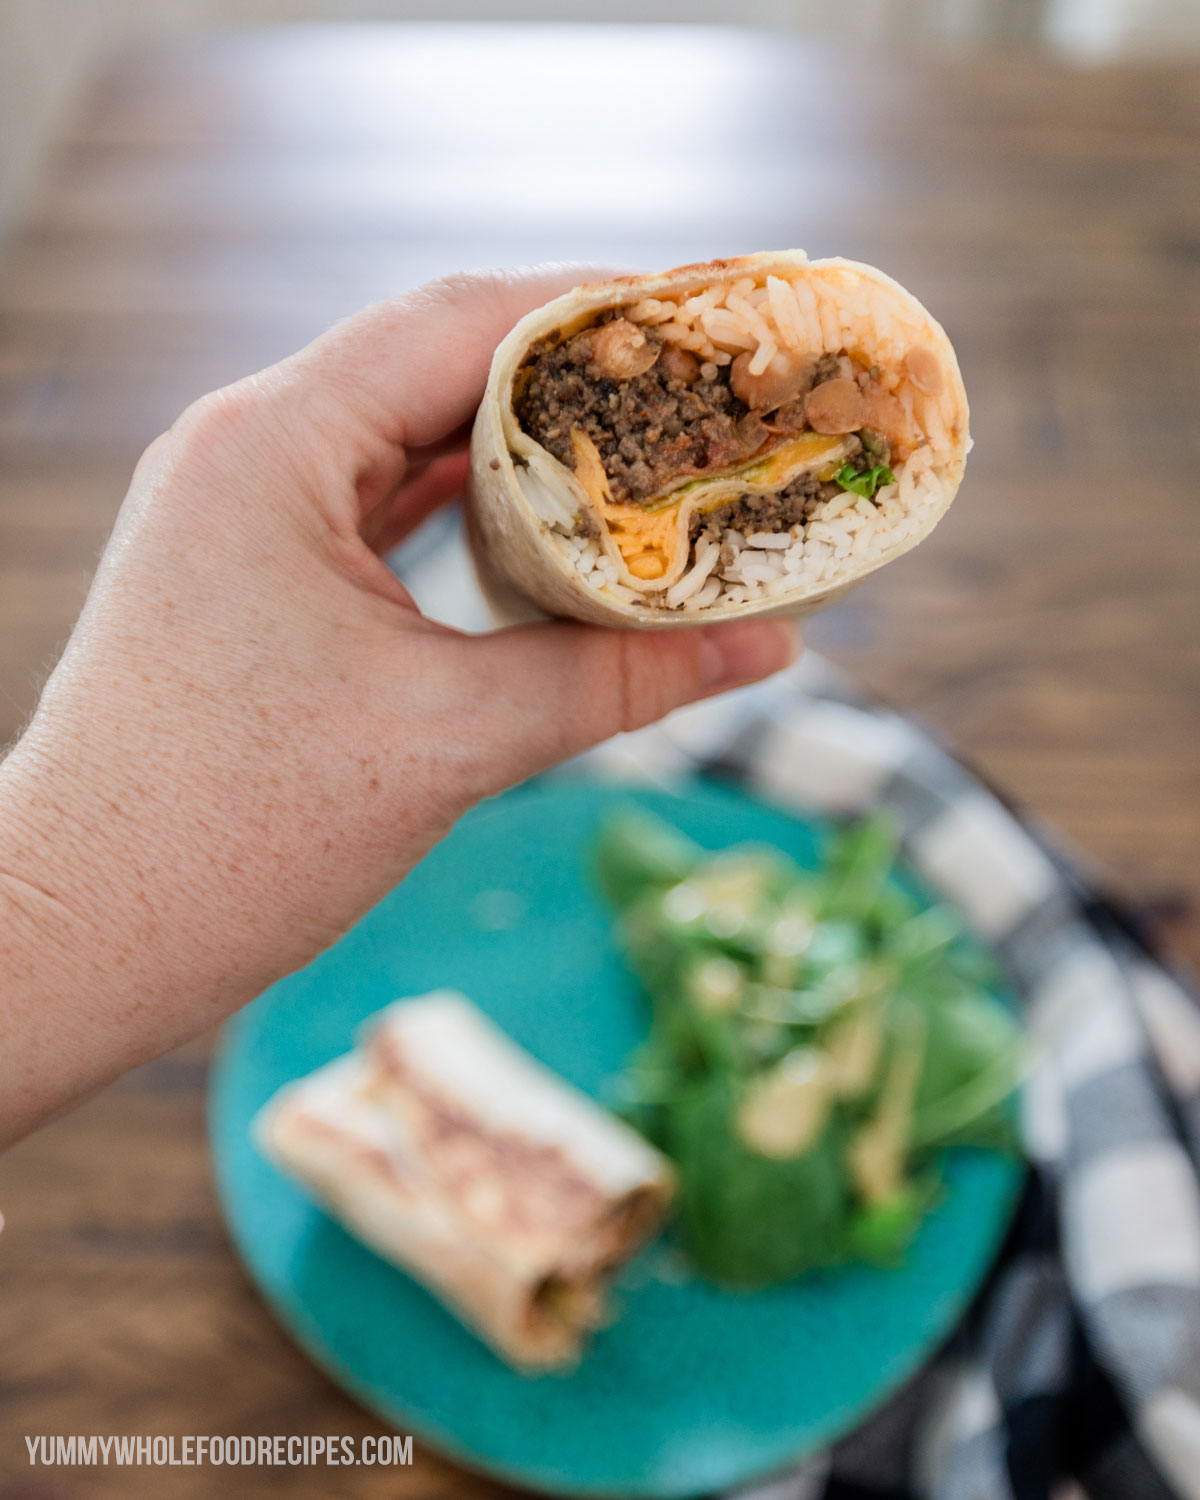
Carefully roll up each tortilla, tucking in the sides as you go, to create tight burritos.
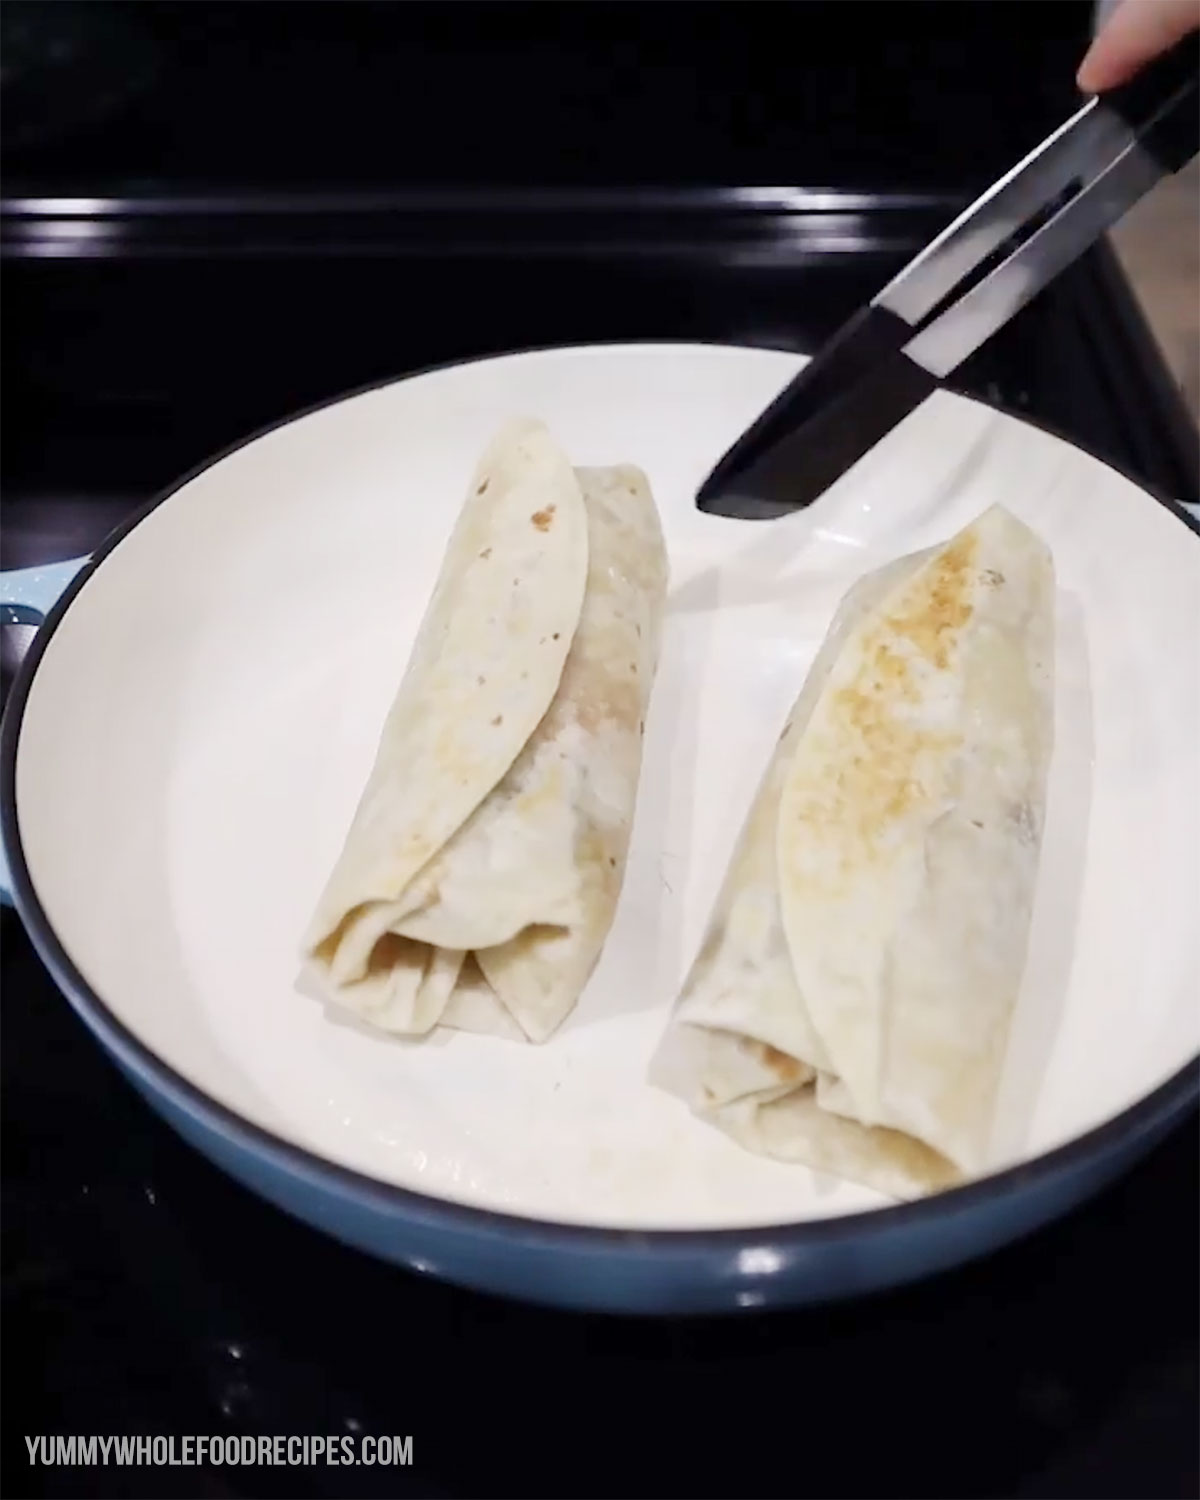
Finally, coat a hot nonstick large skillet with cooking spray and place the burritos, seam side down, in the skillet. Toast them for 3 to 4 minutes on each side until they are heated through and golden brown. Serve with more sour cream and a squeeze of fresh lime juice if desired.
How to Freeze & Reheat the Burritos
If you want to save some burritos for later, like all freezer burrito recipes the best way is to allow them to cool completely before freezing. Once cooled, wrap each burrito individually in aluminum foil or plastic wrap. Place the wrapped burritos in a freezer-safe container or a resealable freezer bag. They can be stored in the freezer for up to 2 to 3 months. When you’re ready to enjoy your freezer burritos, simply remove them from the freezer and let them thaw in the refrigerator overnight. Once thawed, you can reheat them in the microwave, oven, air fryer, or toaster oven until heated through.
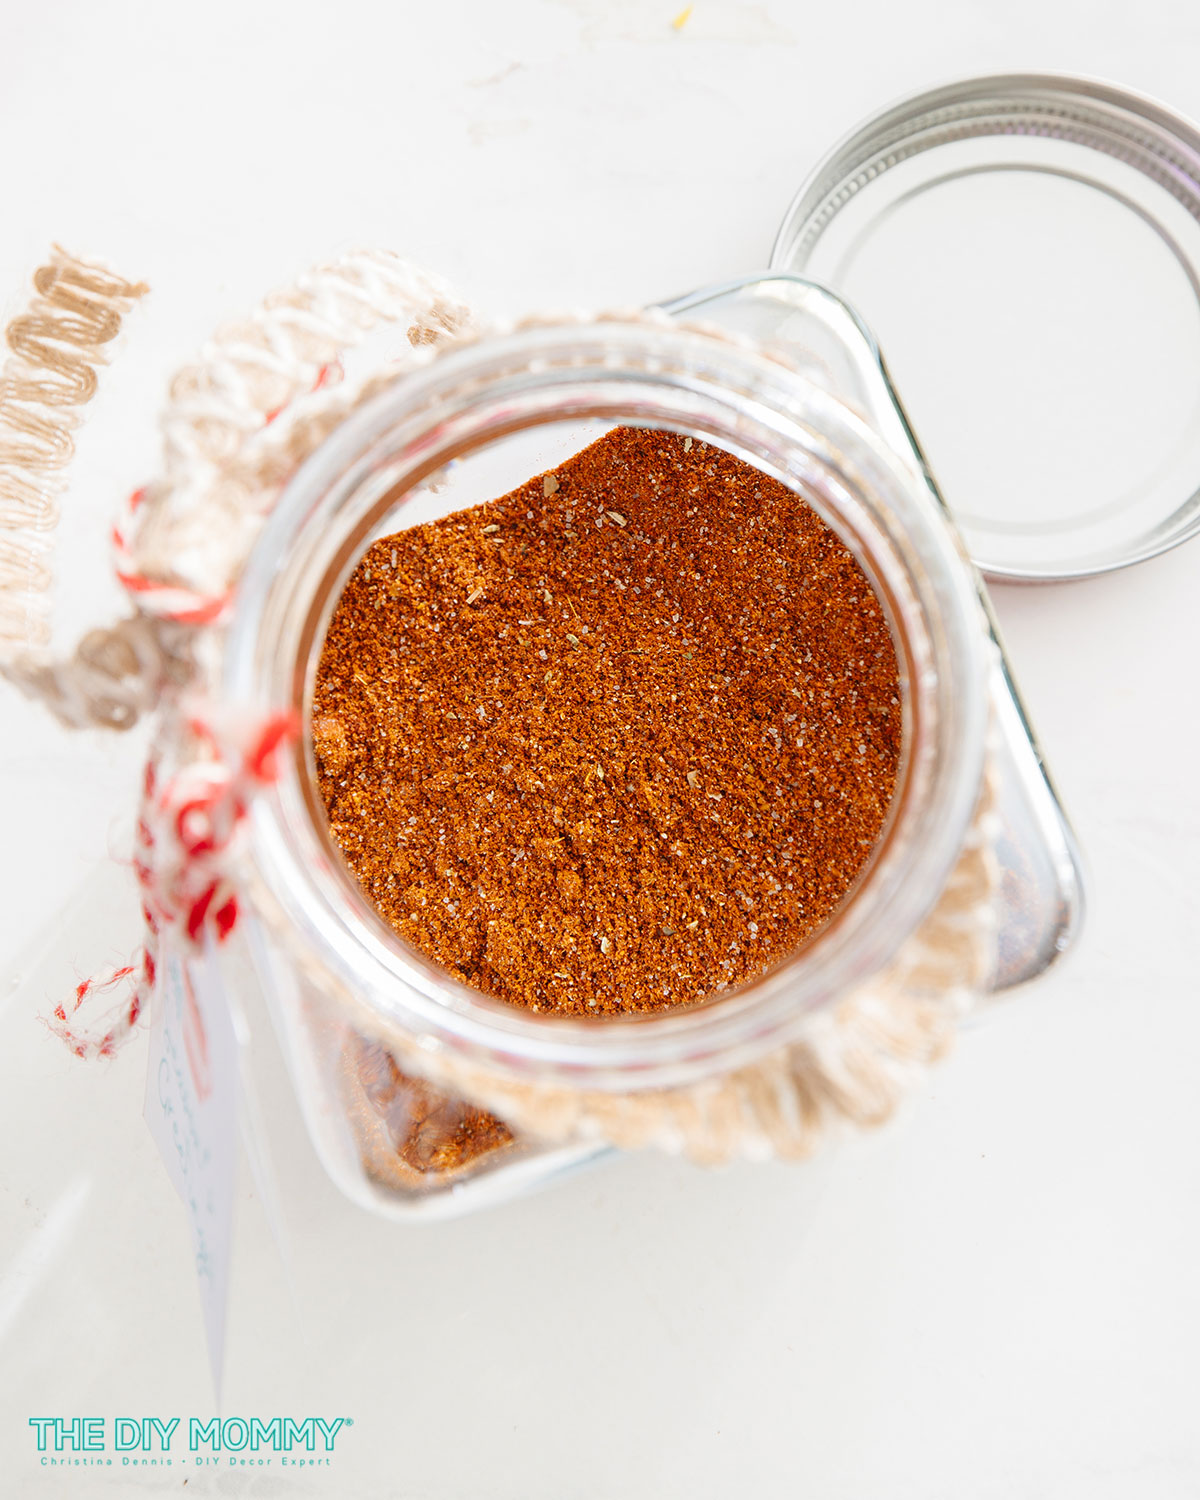
Make Your Own Taco Seasoning Mix
Don’t have taco seasoning mix on hand? Here’s how to make your own big batch (use 2 tsp of seasoning per 1 pound of taco or burrito filling): Into a large bowl add 4 tbsp chili powder, 2 tbsp cumin, 1 tbsp sea salt, 2 tsp ground paprika, 1 tsp garlic powder, 1 tsp onion powder, 1 tsp crushed red pepper flakes and 1 tsp of dried oregano. Mix and then carefully pour them in to the clean, sanitized jar. Pre-making a large batch of taco seasoning mix is a great way to save time and money!
Substitutions
- Brown beans – instead of brown beans, you can use canned black beans refried beans
- Flour tortilla – use a gluten free or keto friendly tortilla if you’re avoiding white flour
- Brown rice – swap the brown rice for white rice if you prefer the taste
- Ground beef – the ground beef can be swapped with ground turkey or chicken
- Vegetarian – the ground beef can be replaced with a plant-based ground to make this vegetarian. Chop up some bell peppers and add them to the filling before frying for an extra veggie boost.
Equipment
I LOVE my Ninja blender & food processor combo! I bought it a couple of years ago, and my family and I use it almost every day. It’s a bit of an investment, but worth any penny. You can find my Ninja Blender Set here on Amazon.
Storage
To store, wrap each burrito individually in aluminum foil or plastic wrap. Place the wrapped burritos in the fridge for up to 5 days or in a freezer-safe container or a resealable freezer bag in the freezer for up to 2 to 3 months.
Top tip
Don’t add lettuce, guacamole or sour cream to your burritos if you want them to be freezer-friendly. Like all freezer burrito recipes, you want to ensure the fillings of your burrito are freezer safe. If you want to add more vegetables to your freezer-friendly burrito, chop up some bell pepper and saute it with the beef mixture to include in your burrito.
These Flavourful Freezer Burritos with Beef & Mushrooms are a game-changer for busy weeknights or quick lunches. With their tasty filling and convenient freezer-friendly feature, they’re sure to become a staple in your meal prep rotation. If you want more freezer burrito recipes, let me know in the comments and I’ll get to work adding more to the blog! Enjoy!
Flavourful Freezer Burrito Recipe with Beef & Mushrooms
Flavourful Freezer Burrito Recipe with Beef & Mushrooms
Equipment
- 1 food processor
- 1 non-stick skillet
Ingredients
- 8 oz white mushrooms
- 1/2 lb lean ground beef
- 1 tbsp olive oil extra virgin
- 2 tbsp taco seasoning
- 1 cup brown beans canned
- 4 flour tortillas
- 1 cup brown rice cooked
- 2 cups shredded lettuce omit if making freezer-friendly
- 1/2 cup salsa
- 3/4 cup cheddar cheese shredded
Instructions
- Begin by preparing the flavorful filling for your burritos. Place the mushrooms in a food processor fitted with a metal blade. Pulse until finely chopped. Add the lean ground beef to the processor and pulse until the mixture is well combined.
- Heat the olive oil in a large nonstick skillet over medium-high heat. Add the mushroom and beef mixture to the skillet, along with the taco seasoning. Cook for about 10 minutes, stirring occasionally, until the mushroom and beef mixture is browned and fragrant.
- Now, let’s assemble our delicious burritos! Start by spreading a layer of brown beans onto each flour tortilla. Next, spoon a generous portion of cooked rice onto the beans, followed by a hearty scoop of the mushroom and beef mixture. Top it off with shredded lettuce*, salsa, and any optional toppings you desire, such as guacamole and fat-free sour cream. Finally, sprinkle a generous amount of shredded Cheddar cheese over the filling. *Omit the lettuce, guacamole and sour cream if you're making these freezer-friendly.
- Carefully roll up each tortilla, tucking in the sides as you go, to create tight burritos.
- To ensure our burritos are perfectly heated and crispy, let’s give them a quick toast. Coat a hot nonstick skillet with cooking spray and place the burritos, seam side down, in the skillet. Toast them for 3 to 4 minutes on each side until they are heated through and golden brown.
- Now, here comes the freezer-friendly part! If you want to save some burritos for later, simply allow them to cool completely after toasting. Once cooled, wrap each burrito individually in aluminum foil or plastic wrap. Place the wrapped burritos in a freezer-safe container or resealable freezer bags. They can be stored in the freezer for up to 2 to 3 months.
- When you’re ready to enjoy your freezer burritos, simply remove them from the freezer and let them thaw in the refrigerator overnight. Once thawed, you can reheat them in the microwave, oven, or toaster oven until heated through.
Nutrition
These nutrition values are estimates only. Read my full nutrition disclaimer here.


Christina, your Flavourful Freezer Burrito Recipe with Beef & Mushrooms is a culinary masterpiece! The addition of mushrooms to the beef mixture adds depth of flavor and nutrition. Your detailed instructions make it easy for even novice cooks to replicate this delicious dish. Thank you for sharing this freezer-friendly recipe that’s perfect for busy days!